Exif
- Date: March 5, 2019
- Aperture: 2.27
- Exposure Time: 1/33
- F Number: 2.2
- Focal Length: 3.46
- ISO Speed Ratings: 45
- Model: CPH1701
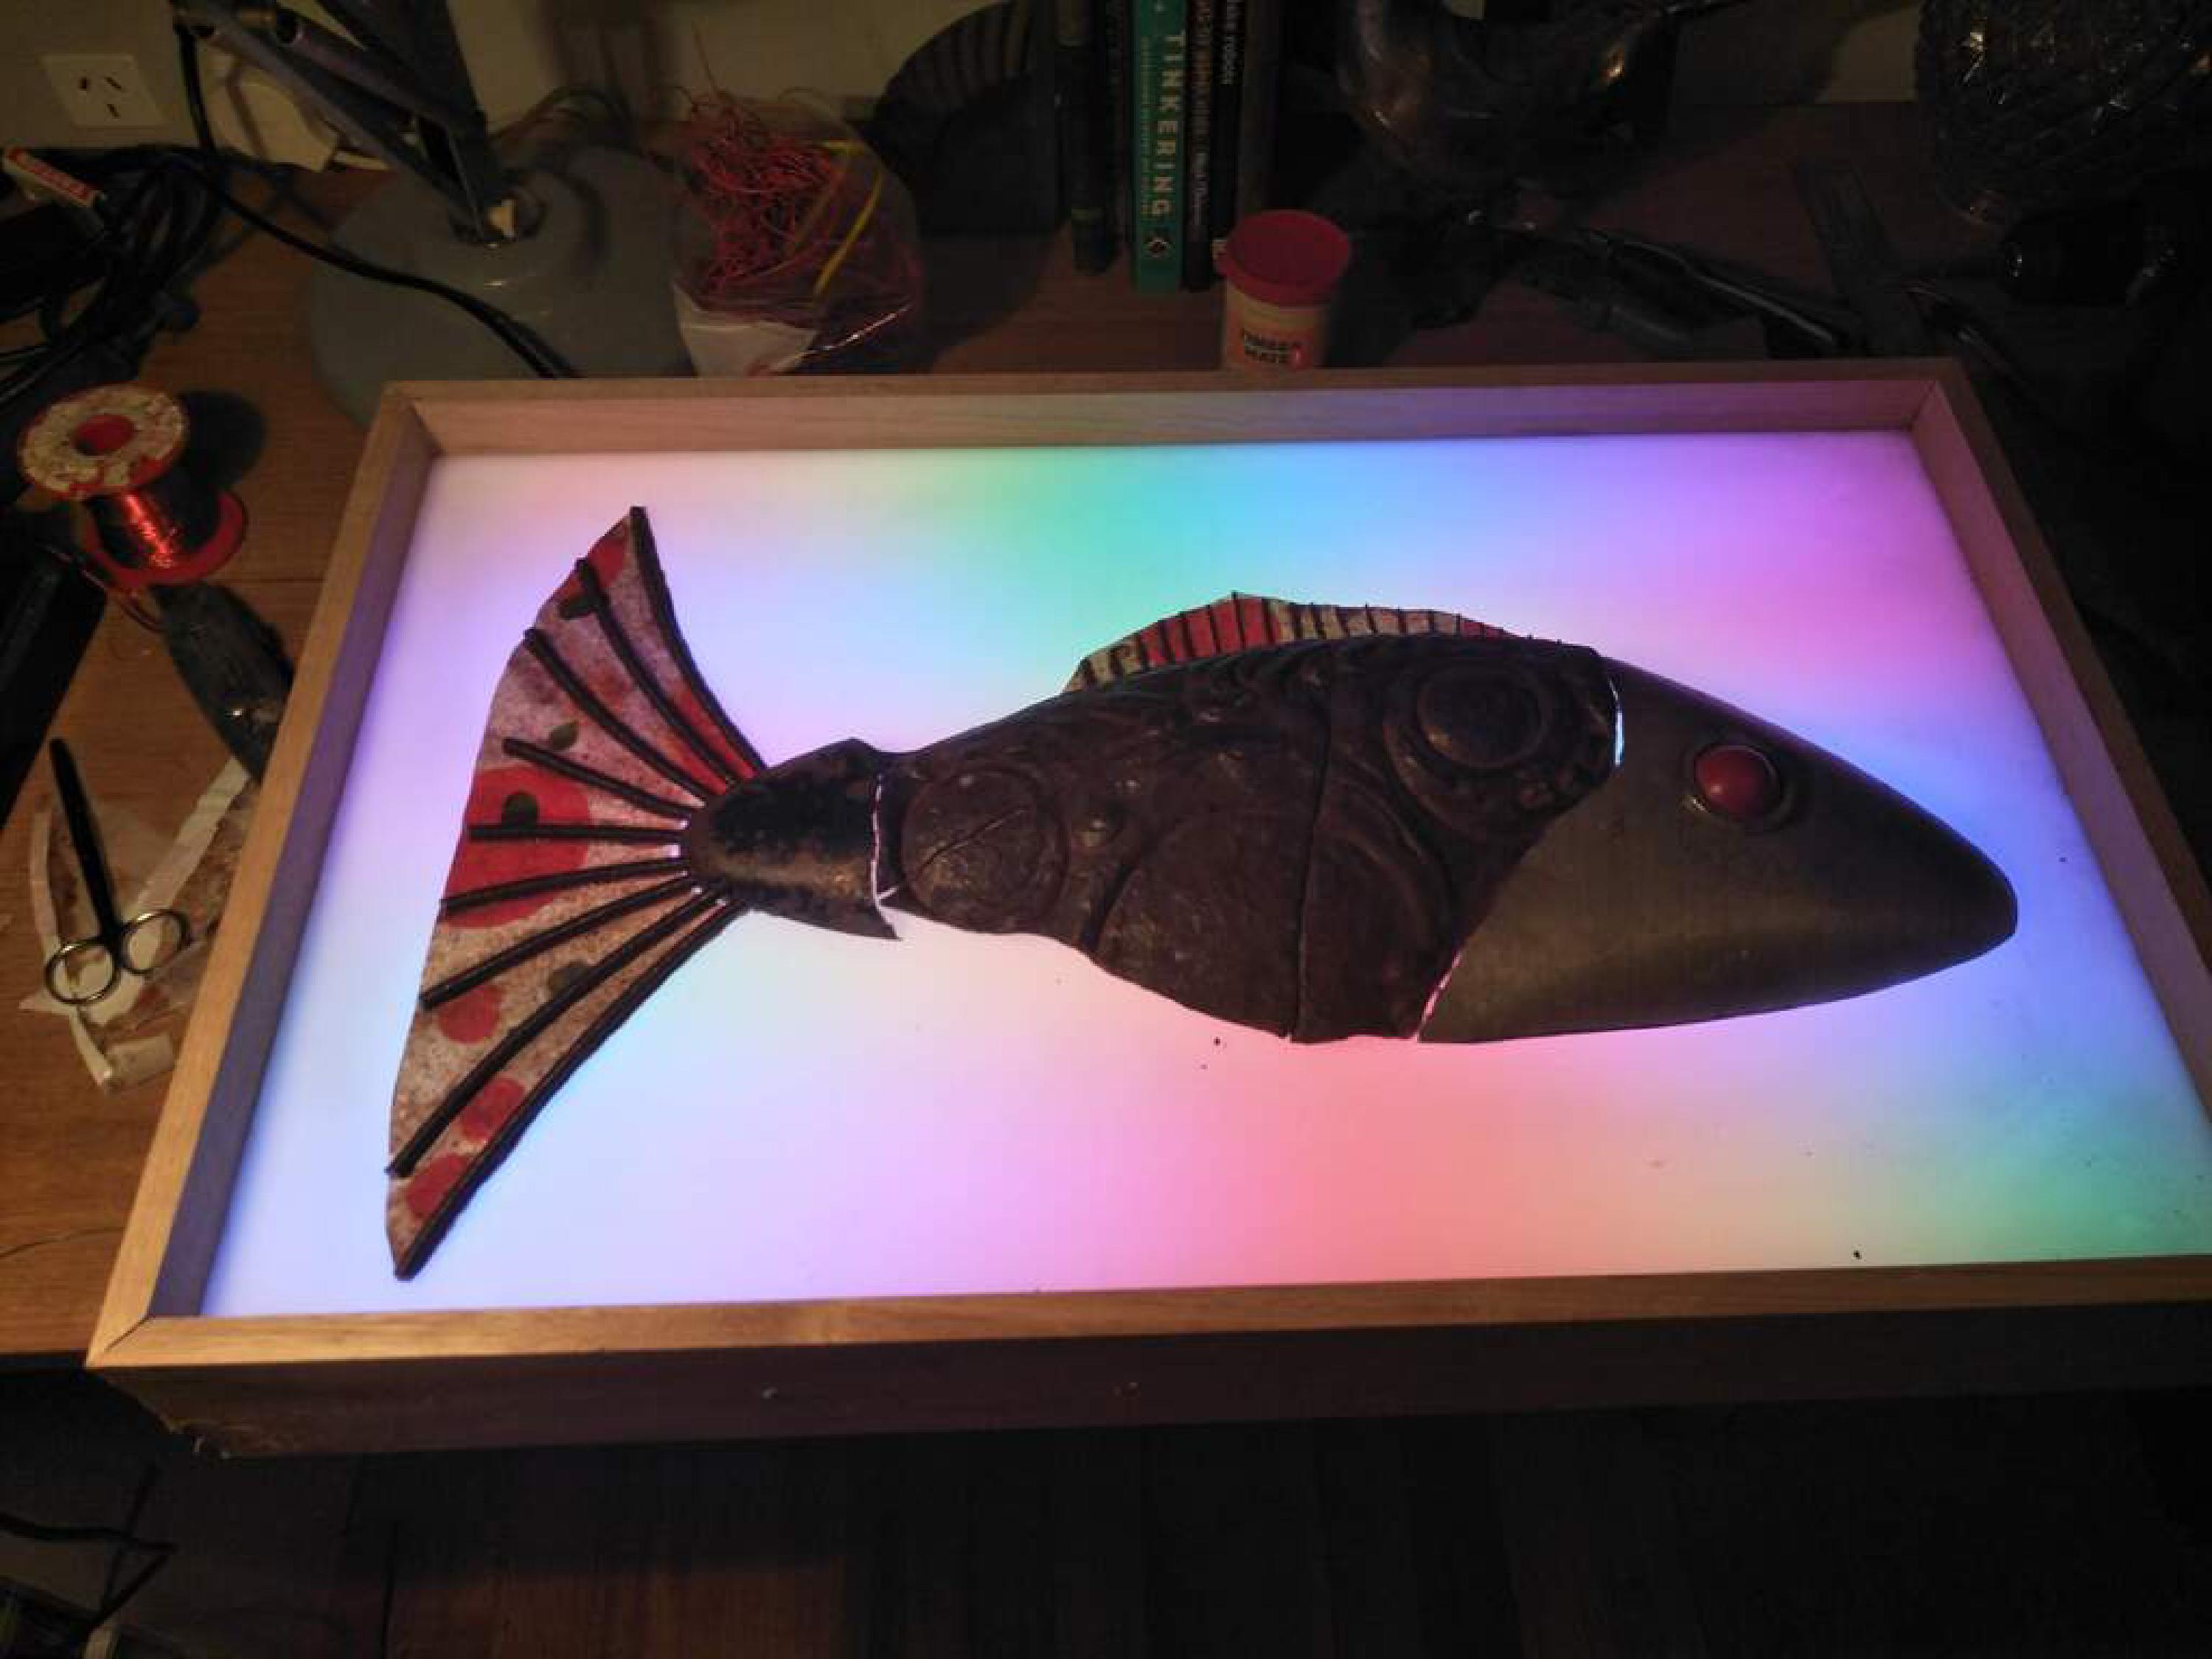
Size: width 60cm, height 40cm, depth 9cm. Materials: Antique cast iron fragment, purpose unknown, 1950’s aluminium lamp shade, Victorian shoe tree, plumber’s snake, vintage indicator lamp, fused plastic bags, scrap timber, acrylic sheet from White Night artwork; all recycled. RGB LED strip & programmable controller from Aliexpress. Date: 2018, 2019. Note: requires a USB socket for power, such as a USB charger
I regret the wanky title, the piece was made for the Dandenong Ranges Artists Open Studios Exhibition 2019, and they chose the theme “Alchemy”. I remember I stood up in the meeting and asked them what it meant, of course no-one knew, basically the whole alchemy thing was a con to get money from the deluded, it achieved nothing and derailed science progress for centuries.
Heres my Artist’s Statement:
Alchemy was a historical failed attempt at understanding the process of transformation in Nature. From our current behaviour it would seem that we have not learned anything better. We use our beautiful planet at a dumping ground for our waste. What happens if Nature decides to fight back, to do a transformation, to use our rubbish to create a new order of life? I don’t think she’s very happy with us.
As usual I was inspired by the wonderful patina on the cast iron fragment that forms the body. I picked it up on holiday somewhere from an old rubbish heap outside a ruined cottage, I still have no idea what it was once a part of. After cleaning it of loose rust and lacquering it to stop it rusting further, I decided it was part of a fish, so I needed a tail and a head to complete it. The tail was part of a very old rusty metal shoe tree, a contrivance that was inserted into a good pair of shoes to keep the shape. The head was anothe lampshade, a mainstay of mine, I love old lamp parts, they are so versatile and wonderful shapes.
The tail was made from pieces of a long metal spring (picturesquely called a “drain snake”) made to clean out blocked pipes, and plastic shopping bags from Coles I think that I fused several layers together with an iron between layers of baking paper. The whole mess was washed with very dilute acrylic paint and sprinkled with flour to give it an antique look, as the plastic looked far too new & shiny.
The eye is made from a wonderful antique indicator lamp from somewhere, that I just added a red LED inside that fades up & down, this effect is termed “breathing” for some reason.
I got a friend to paint a mouth inspired by the designs on fighter aircraft, I don’t really like the result, though he did a great job. He used oil paint which of course refused to dry on metal, I had to put it in the oven to get it even tacky, then I lacquered it. I feel it was a cop-out not doing it all myself. Marcel Duchamp employed a signwriter on his famous urinal, but he was a real artist!
The Lightshow
The whole thing is quite heavy, and I mounted it on a sheet of while acrylic that I recycled from the huge sign that was made for White Night in Melbourne years ago and stored at the shared studio I rented in Footscray until they scrapped it. I am proud of the lightshow that I devised for behind the acrylic. I bought a strip of LEDs that you can control the colour of each LED in the string, there must be about 60 of them, I think I put 3 length in the box. These were controlled by a tiny toy computer called an Arduino, that is claimed to reduce programming to the point that it is accessable to creative types who are not engineers. THe hardware is a little circuit board that can control just about anything electronic. It is programmed with an app that runs on a PC that downloads the code to the Arduino, that can then just run it when it is turned on. It succeeds fairly well, I was able the program the strips to display random blobs that change colour very slowly. The range of colours is carefully chosen to be unsaturated colours, not the normal garish hues that coloured LEDs display, and to be biased towards the green/blue end of the spectrum.
Thanks to this project I actually learnt how to apply a way of representing colours in the “hue-saturation-value” (HSV) space, rather then the “red-green-blue” (RGB) space. HSV defines a colour as its “hue” or colour, similar to the artist’s colour wheel; the “saturation” which is how bright or pastel the colour is; and the “value” or brightness. It is very intuitive to generate colour values in HSV, and to adjust them until they are what you are looking for. For more just google for “HSV”.
I also learnt a great lesson: anything that includes LEDs should have a brightness control. You never know what it will look like until it is installed, it may be in a drak corner or under spotlights. It’s also a good idea to conceal it a bit, to prevent fiddling. The Arduino makes it easy to use a simple rotart control like a volume knob on a radio to control overall brightness, I made mine only accessable with a screwdriver through a little hole.
Embarassingly for a professional software engineer I seem to have lost the code somewhere along the way, but it was very short, only about 30 lines or so. I started with a demo project included with the Arduino software, and then just played with it until it looks like what I wanted.